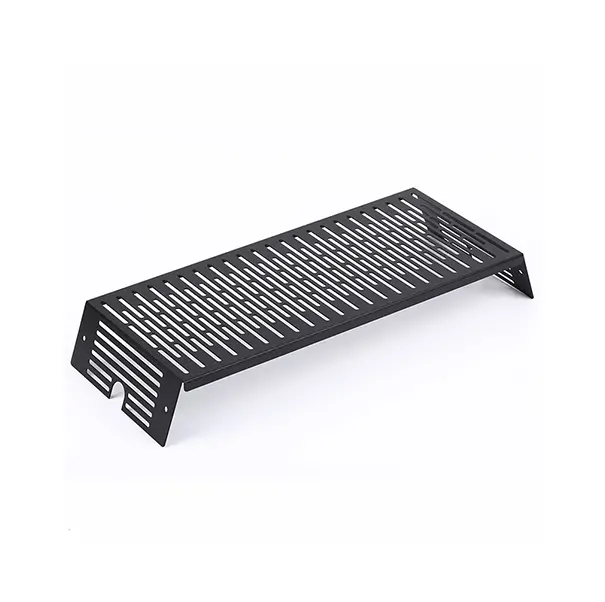
A stamped part's cost and quality are decided in its drawing: feature spacing, bend logic and material choice set the die's difficulty before it is cut. This guide collects the design principles our die shop — building stamping tools since 1996 — wishes every drawing observed.
Every stamped feature must exist as steel in a die: a punch, a cavity, a forming radius. Features that are trivial to draw can be expensive to build as tooling — a hole pattern scattered across bend lines, a form that fights the strip's advance, a tolerance that demands die precision beyond the process's nature. Designing for stamping means imagining the tool as you draw: features aligned to simple, robust die stations price kindly; features that require fragile punches or contorted forming price honestly higher.
This mindset is native here because the tooling is native: the mould division that designs our metal stamping dies has been part of the factory since 1996, and the same team that will build your die reviews your drawing. The feedback loop most buyers never get — die maker reading the drawing before it hardens — is the standard route on this page's enquiries.
The placement rules echo the sheet-metal guide on this blog, sharpened for dies. Holes need respectful distance from edges and bends, because the die must support the material around every punch and because forming moves metal near bends. Features too close together weaken the die steel between them — a die-design fact that becomes a maintenance fact for the programme's whole life. And patterns that span a bend line import the bend's variation into the pattern's accuracy; keep patterns on flat territory wherever the assembly allows.
Where the design truly needs a feature in a hostile place, raise it in review. Dies have legitimate tricks — piercing after forming, coining, restriking — but they are choices with costs, made deliberately, not defaults discovered at sampling.
Stamped bends obey the same physics as fabricated ones — inside radius versus material and thickness, springback to be compensated, grain direction to be respected on crack-sensitive work — with one addition: in a die, springback compensation is built into the tool, so consistency across the production run is better, but design changes after die-cutting are dearer. Stainless steel, with its work hardening and lively springback, rewards conservative radii and honest review; aluminum rewards attention to surface protection, since stamped aluminum often carries cosmetic duty (our range includes powder-coated aluminum stamping parts, where the finish begins at the die's surface discipline).
Deep features cross a boundary this guide respects: beyond modest forms, a part stops being 'stamped flatwork' and becomes a drawn part, with staged tooling and different design rules — covered in our deep drawing process article. Naming that boundary early saves a tooling redesign.
Aluminum and stainless steel — the two families of this factory's stamping range — behave like different crafts at the press. Aluminum is light, cooperative and surface-sensitive: it forms readily, galling and marking are the watch-items, and finished appearance starts with die polish and handling. Stainless is strong, springy and hardening: it demands tonnage, rewards generous radii, and produces parts of notable durability, including the deep-drawn family.
Specifying the family and grade clearly at enquiry — aluminum sheet per the AL6061/6063 fabrication range, stainless per the stamping and machining ranges — lets the die be designed for the metal it will actually meet. Substituting families late is a tooling event, not a paperwork event.
Stamping economics turn on volume more than any other variable, because the die must be amortised. A design headed for a few hundred pieces may belong to fabrication or machining; one headed for sustained thousands earns die investment, possibly a progressive die — the subject of our progressive die stamping page. Drawings do not state volumes, so state them yourself in the enquiry: trial, annual, lifetime. The die recommendation — its complexity, its staging, its very existence — hangs on those numbers.
Close with the same checklist as every process on this blog: function marked, cosmetic faces named, critical dimensions flagged, volumes honest, mating parts identified. Send it via the contact form and the die shop itself will tell you what your design will cost to love.
Die makers read drawings in a particular order: material and thickness first, then the flat pattern's sanity, then feature placement against bends, then the tolerances against the process's nature, and only then the details. A drawing that survives that reading without questions is a drawing that will quote tightly and run calmly. Designing with that reading order in mind is the whole guide in one sentence.
Tell us the material grade, quantity and finish you need for your project. Our engineers review every drawing for die casting, machining or stamping feasibility before quoting — no obligation.
Send Drawings for a DFM Review